
Beginner7 days
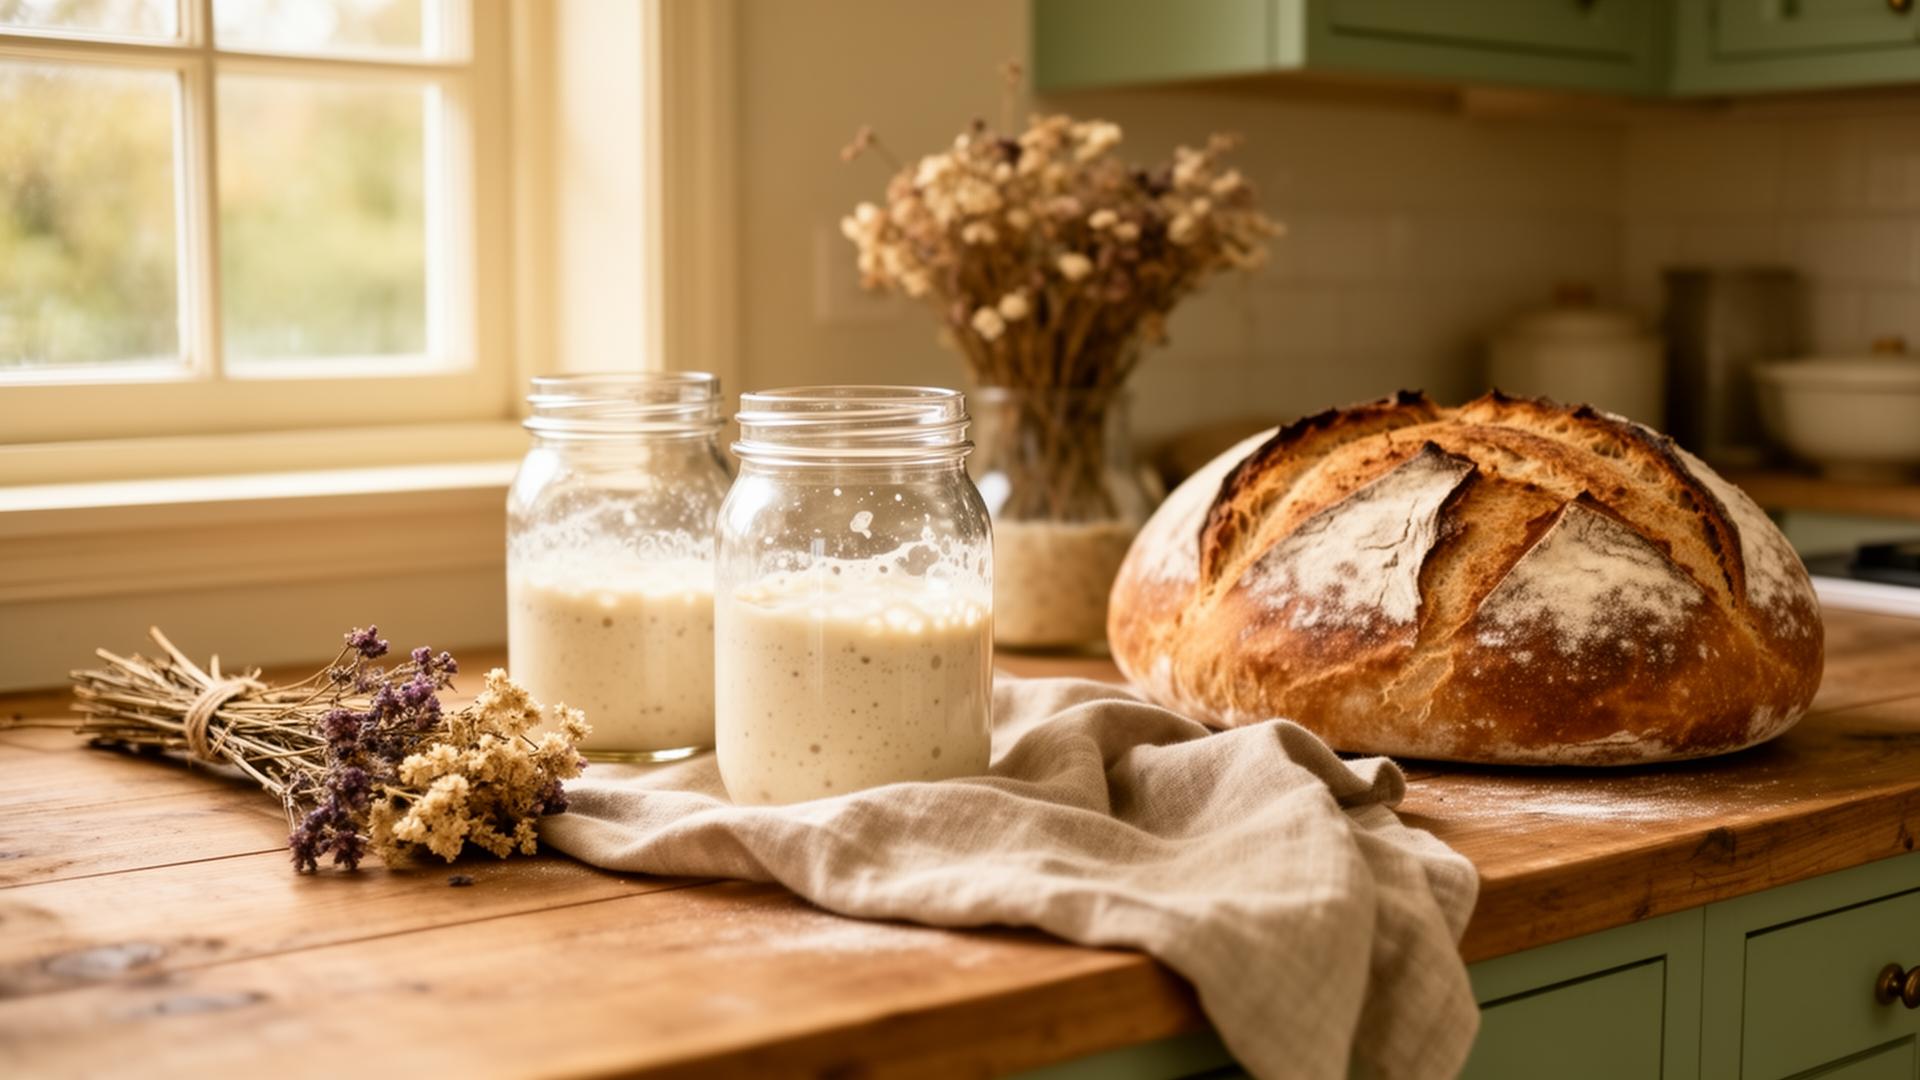
Your First Starter
A step-by-step guide to creating and maintaining a bubbly, active sourdough starter from scratch.
Simple recipes, honest ingredients, and the patience to let good things rise. Welcome to a kitchen that feels like home.
Everything you need to know — from the tools on your counter to the first bubbles in your jar.
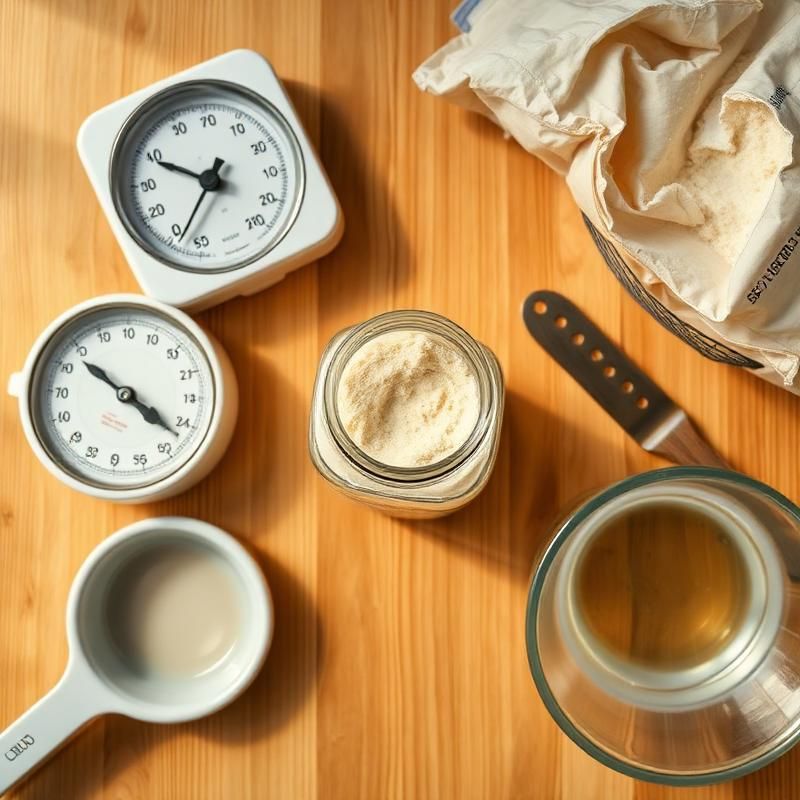
To create your sourdough starter, you only need a few simple things.
A clear jar so you can watch your starter grow and bubble.
Precision matters — weighing ingredients gives consistent results.
Whole wheat or rye to start, then all-purpose for ongoing feeds.
Chlorine can slow fermentation, so filtered or bottled is best.
Mark your jar to track how much your starter rises.
For mixing — metal won't hurt, but wood feels right.
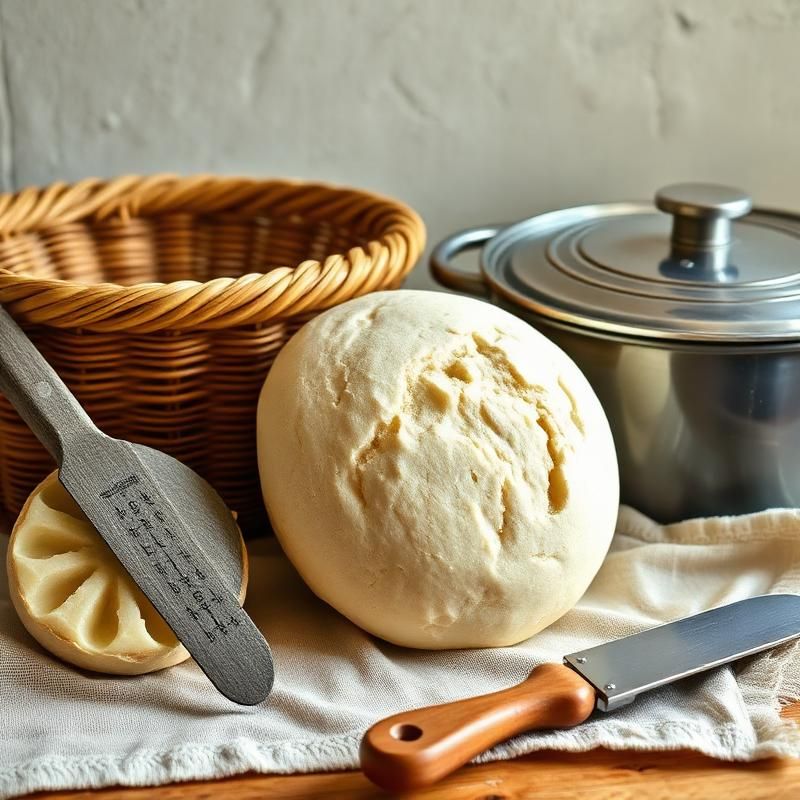
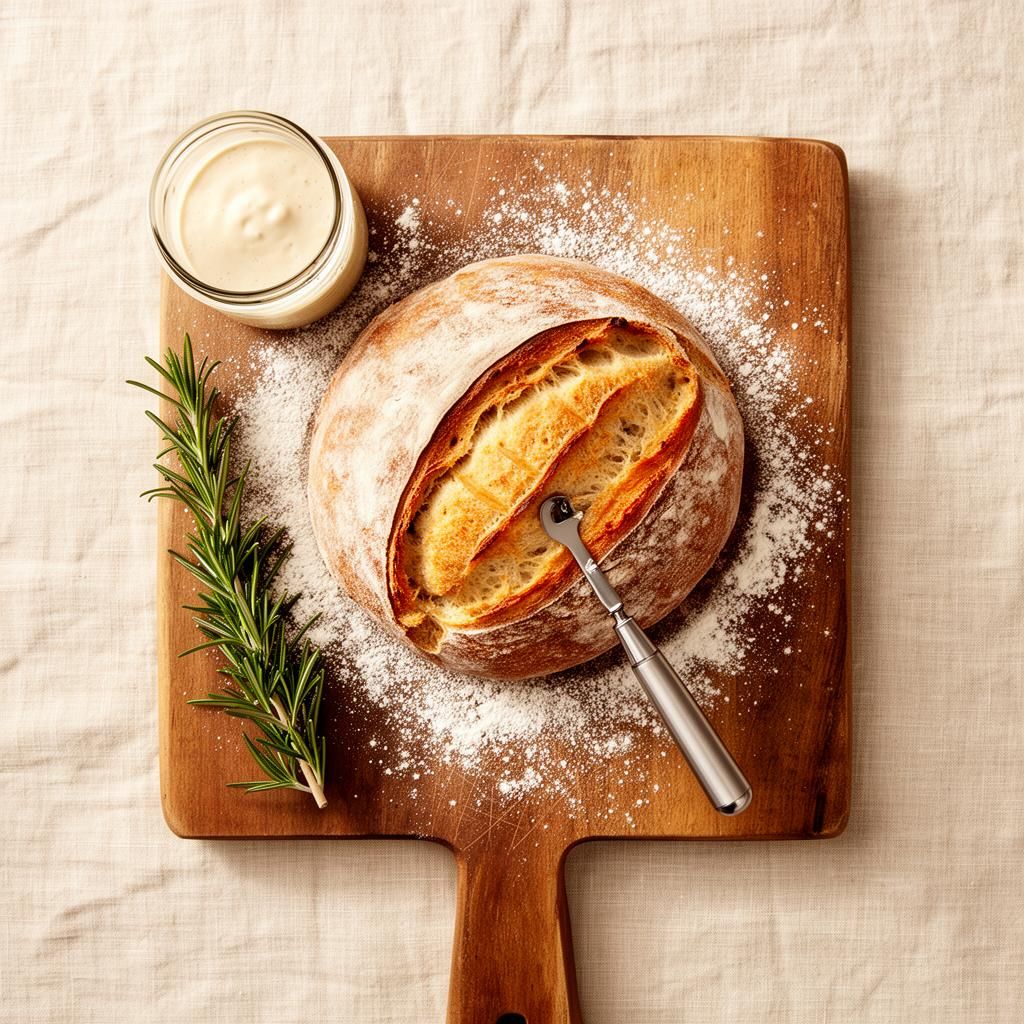
Once your starter is active, these tools will help you bake a beautiful loaf.
Gives your loaf shape and that gorgeous spiral pattern.
Traps steam for an incredible crust — the secret weapon.
For scoring beautiful patterns on top of your loaf.
Makes shaping dough and cleaning up so much easier.
For easy transfer into your hot Dutch oven.
To line your banneton and cover dough while resting.
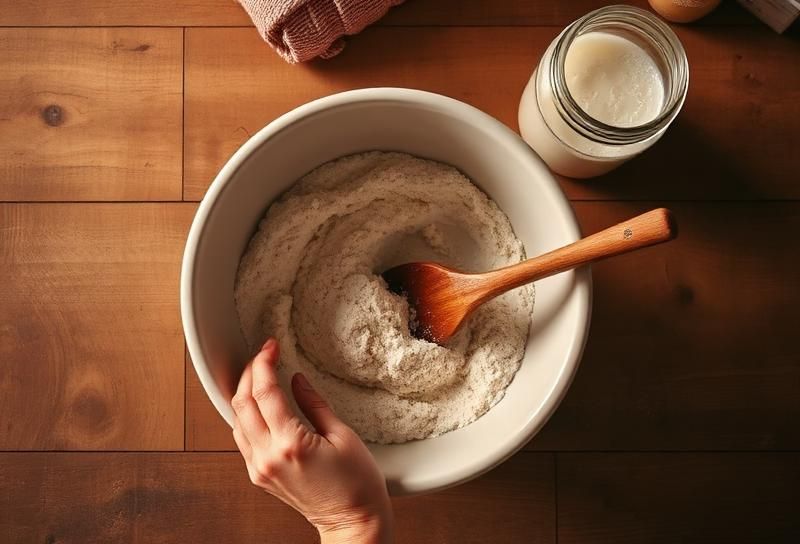
It takes about a week of daily feeding. Here's the simple routine:
Combine 50g whole wheat flour and 50g water in your jar. Stir well, cover loosely, and leave at room temperature.
You may see a few bubbles. Discard half, then feed with 50g flour and 50g water. Repeat daily.
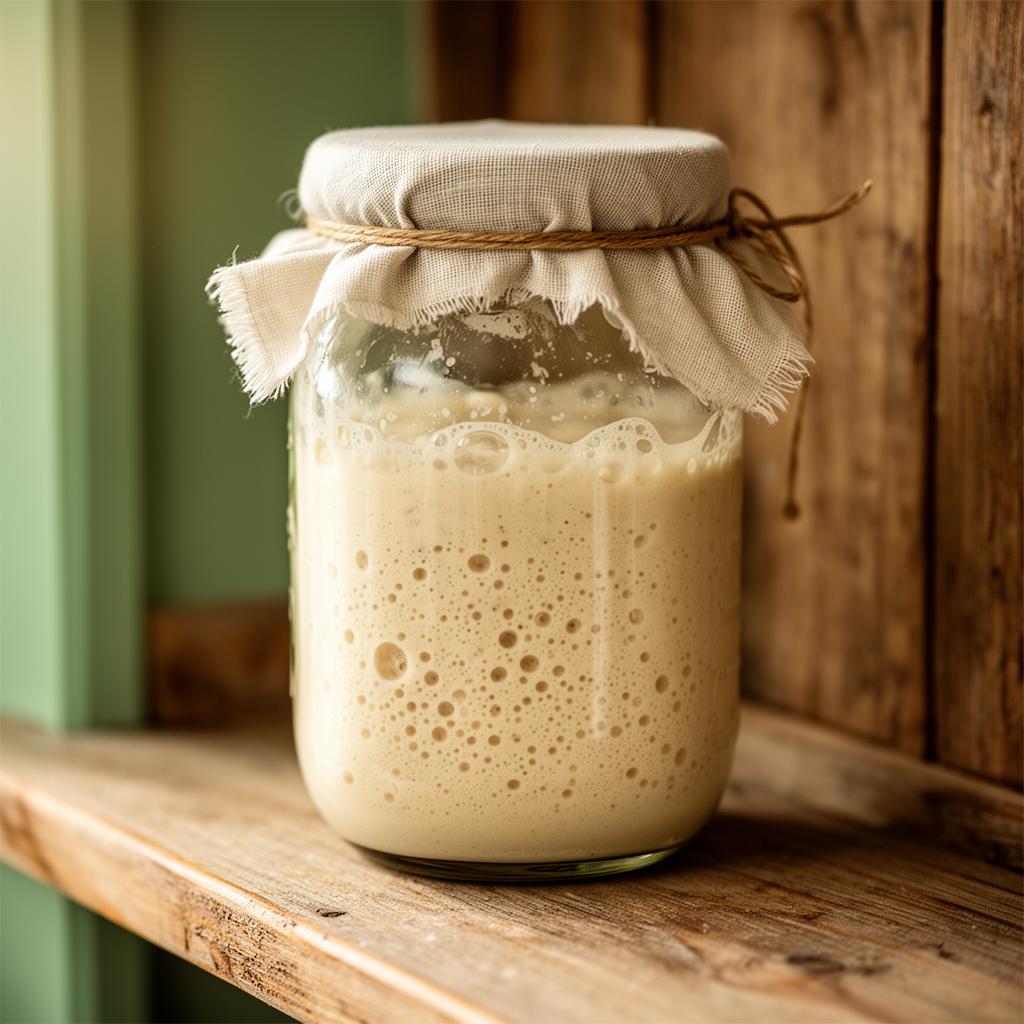
Bubbles should be more consistent. The smell may be tangy or even funky — that's normal! Keep feeding.
Your starter should double in size within 4–6 hours of feeding. Drop a spoonful in water — if it floats, it's ready!
Recipes tested dozens of times in our own kitchen, written with love and all the tips you need to succeed.
A step-by-step guide to creating and maintaining a bubbly, active sourdough starter from scratch.
Learn the basics of bread scoring with simple, beautiful designs that open up perfectly in the oven.
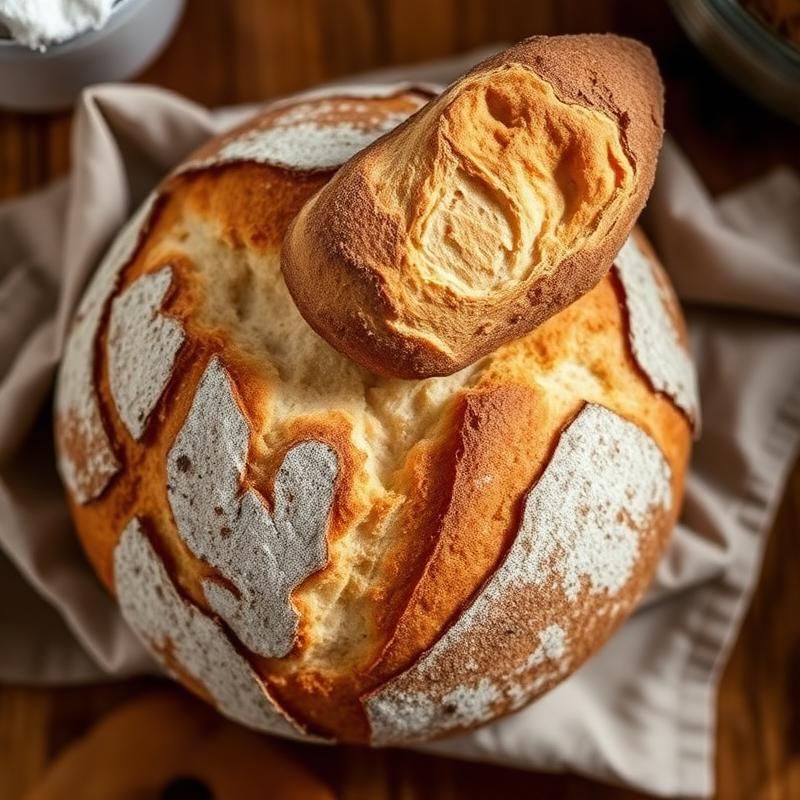
A golden, crusty boule with an open crumb — the perfect everyday sourdough that never gets old.
The Starter Jar began in a tiny apartment kitchen with a mason jar, some flour, and a whole lot of curiosity. What started as a pandemic hobby turned into a genuine love for the art of slow fermentation.
Every recipe here has been tested, tweaked, and perfected — not in a professional kitchen, but in a real home, with real schedules and real life happening around it. Because that's where the best bread gets made.
We believe good bread shouldn't be complicated. Just honest ingredients, a little patience, and the warmth of a kitchen that smells like home.
Everything you've been wondering about sourdough, answered.
New recipes, starter tips, and baking stories delivered straight to your inbox. No spam — just warm, crusty goodness.